System Administration - Installing iOS apps using Apple's Volume Purchase Programme and Cisco Meraki
Introduction
This is intended to be used by Site Administrators and staff at clients of Entity. As Apple and/or Cisco make changes to the way this process works, we will make the requisite changes, so it may be useful to subscribe to this document.
Overview
There are two composite parts to making this process work:
Apple’s Volume Purchase Programme (VPP); and
Cisco’s Meraki product line.
All steps should be followed sequentially in order to mitigate breaking the seamless working of the deployed solution. There are some key steps, which if omitted or varied, will probably require all iPads at the organisation to be physically touched.
Apple’s VPP
Log in to the VPP site available at https://volume.itunes.apple.com/nz/store using the VPP Apple ID for your organisation. This is in the form of an email address, most likely vpp@, cloud@, volume@, or appleid-main@.
If you have not already done so, it may be worthwhile allowing your web browser to save the username and password as you will need to login for every purchase you make.
Type in the name of your first required application into the search box, and press Return or click on search:

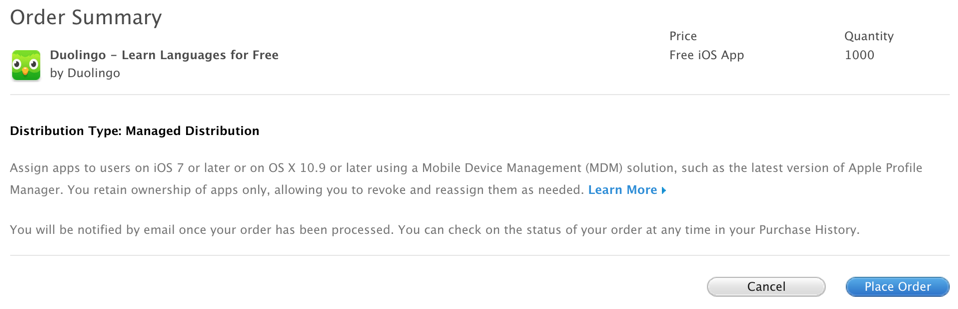
Click on the application name to go to the Purchase Details page. At this stage, if you are purchasing a free app, feel free to specify a high number for quantity - for this example we have chosen 1000, then click on the Review Order button:

On the Order Summary page that follows, click on the Place Order button:
For paid apps, you will need to choose ‘Managed Distribution’ as follows:Next, you will need to re-enter your VPP Apple ID and password:
At this point you will be presented with a page that says that your order is complete:
To simplify the process for the next phase, go to your address bar and copy the last field at the end of the URL (this is the application ID). It may be useful to paste this information into a spreadsheet and continue with any remaining apps you may need to deploy:


Cisco’s Meraki
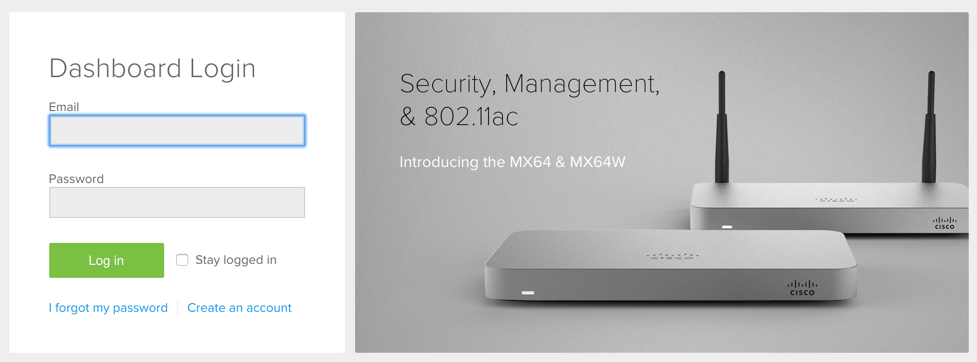
Log in to the Meraki site available at https://n69.meraki.com using your personal admin account (you will have been invited using your email address for your organisation):
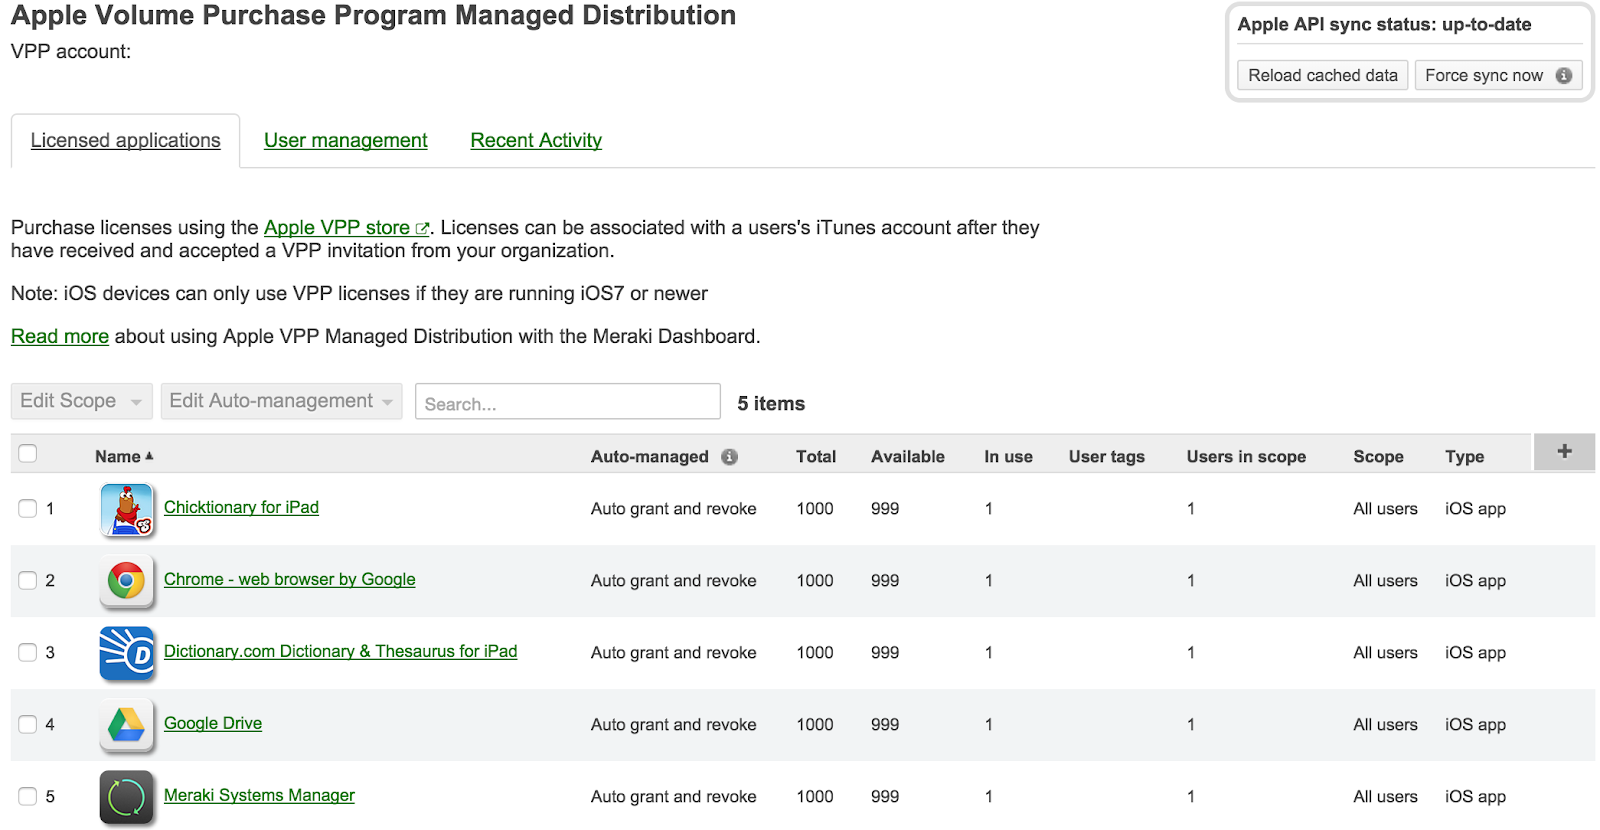
Once logged in, go to the Systems manager ⇒ MDM ⇒ VPP page on the expanding menu on the left of the Meraki web page:

If the application that you purchased above is not in the list (which would be the case if doing it straight after purchasing from the VPP store), you will need to force the synchronisation of VPP data by clicking the “Force sync now” button on the top right-hand side of the list of apps:
You will need to click on OK on this message:

Once the sync has completed, your app will appear in the list, click the checkbox next to it and edit the Auto-management features as follows:

Next, go to the Systems manager ⇒ MDM ⇒ Apps page on the expanding menu on the left of the Meraki web page:

You will see that your app is not yet on the list:

This is because until now you have been linking Apple and Meraki - next, you will link Meraki and your iPad(s).
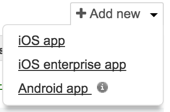
Click on the + Add new button to the top right of the App management section and choose iOS app:
On the next screen, paste in the app id that you copied previously and then click on “Lookup by ID” - this will ensure that you are getting the same version of the app regardless of what country’s VPP store you purchased it from. Click on the Add button to add your app to the list::

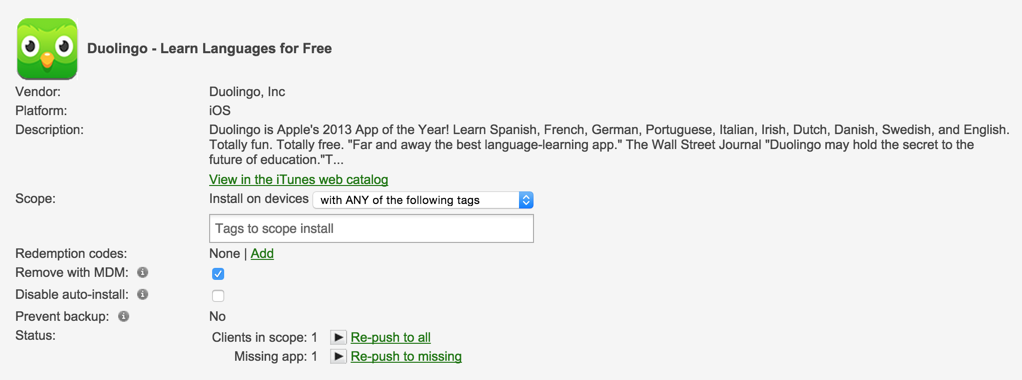
At this stage, change the Scope so that it installs on devices “with ANY of the following tags” (naturally you will need to add the relevant tags that identify the iPads you need to push apps out to) and optionally check “Remove with MDM” which will ensure that if management is removed from the device that the app will be removed, which should add them back to your count of licenses - useful more with paid apps

Click Save Changes at the bottom of the screen.
Once saved, the screen will change to the following, allowing you to force a push of the apps to the matching iPads - you can do so or wait for the iPads to call back home and do it automatically:
If in-scope iPads are off or not yet deployed, they will automatically install when they register with the Internet and call back home, so it is a really future-proofed solution.
If there are any issues with any of the apps coming through to the iPads, you can open the Meraki app on the iPad, tap on “Managed Apps” on the bottom of the screen and click on the (+) next to any missing app to force an install or the (✔) next to any malfunctioning app to force it to reinstall:

Conclusion
This document should cover all the points needed to silently install iOS apps using Apple's Volume Purchase Programme and Cisco's Meraki on any iOS devices.
The steps above are simple in isolation, but there are some salient points in this document that need to be followed precisely to ensure your fleet of iPads does not need to be retouched.
If there are any errors, omissions or points of clarity needed to make this document more complete, please do not hesitate to contact your normal service consultant.