System Administration - Installing iOS apps using Apple's Volume Purchase Programme and JAMF
Introduction
This is intended to be used by Site Administrators and staff at clients of Entity. As Apple and/or JAMF make changes to the way this process works, we will make the requisite changes, so it may be useful to subscribe to this document.
Overview
There are two composite parts to making this process work:
Apple’s Volume Purchase Programme (VPP); and
JAMF’s Mobile Device Management
All steps should be followed sequentially in order to mitigate breaking the seamless working of the deployed solution. There are some key steps, which if omitted or varied, will probably require all iPads at the organisation to be physically touched.
Apple’s VPP
Log in to the VPP site available at https://volume.itunes.apple.com/nz/store using the VPP Apple ID for your organisation. This is in the form of an email address, most likely vpp@, cloud@, volume@, or appleid-main@.
If you have not already done so, it may be worthwhile allowing your web browser to save the username and password as you will need to login for every purchase you make.
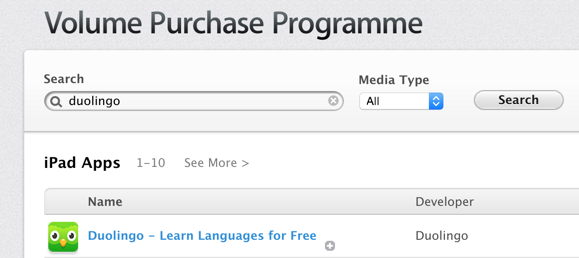
Type in the name of your first required application into the search box, and press enter or click on search:
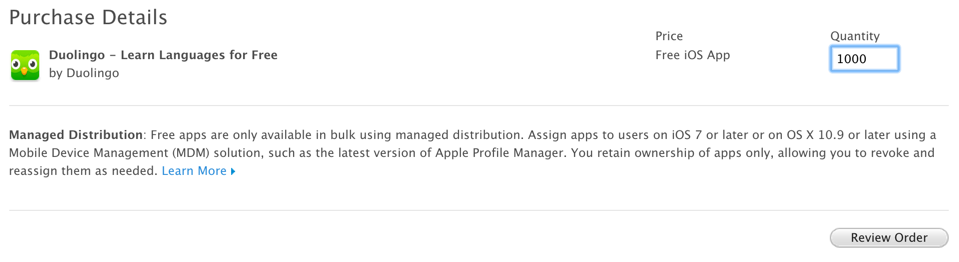
Click on the application name to go to the Purchase Details page. At this stage, if you are purchasing a free app, feel free to specify a high number for quantity - for this example we have chosen 1000, then click on the Review Order button:
On the Order Summary page that follows, click on the Place Order button:
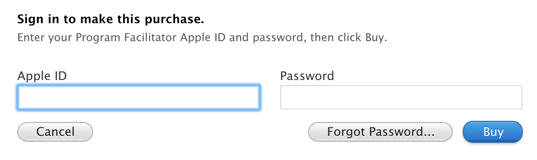
For paid apps, you will need to choose ‘Managed Distribution’ as follows:Next, you will need to re-enter your VPP Apple ID and password:
At this point you will be presented with a page that says that your order is complete:
To simplify the process for the next phase, go to your address bar and copy the last field at the end of the URL (this is the application ID). It may be useful to paste this information into a spreadsheet and continue with any remaining apps you may need to deploy:


JAMF
Log in to the cloud-hosted instance of your JAMF Pro account using your admin account (this would have been created during JAMF setup).
Click on Mobile Device Apps, this will take you to a page where you can see all of the apps that have currently been configured.
Click on the '+ New' button in the top right:
Choose the App Store app or VPP store app option then click next.
Enter the name of the application you want to install and make sure you are using the correct region. Click next.
Make sure the application icon of the app you wish to install matches that of the one you added via Apple's VPP store earlier. Click add to be taken to the application configuration screen.
This is where you configure different options for each application. Under General make sure the checkbox next to Enabled is ticked and under distribution method select how you want the application to be installed. Either self-service for the end-users to install the application themselves. Install automatically to immediately install the application. For all applications ensure the checkbox for 'Display in Self-Service after it is installed' is ticked. Don't click save yet, move onto the scope tab.
The scope tab is used to determine which iPads receive the application. You can configure smart or static groups within JAMF to create a predefined group of iPads then use these groups here. If you are installing to all the iPads, select 'All mobile devices' and 'All users'.
If you wish to install to specific mobile groups, make sure that the target mobile devices is set to "Specific mobile devices" then click the '+ Add' button. Here go to the Mobile Device Group tab and click the add button next to the device group you configured earlier. Click done in the top right when you have finished adjusting the scope.
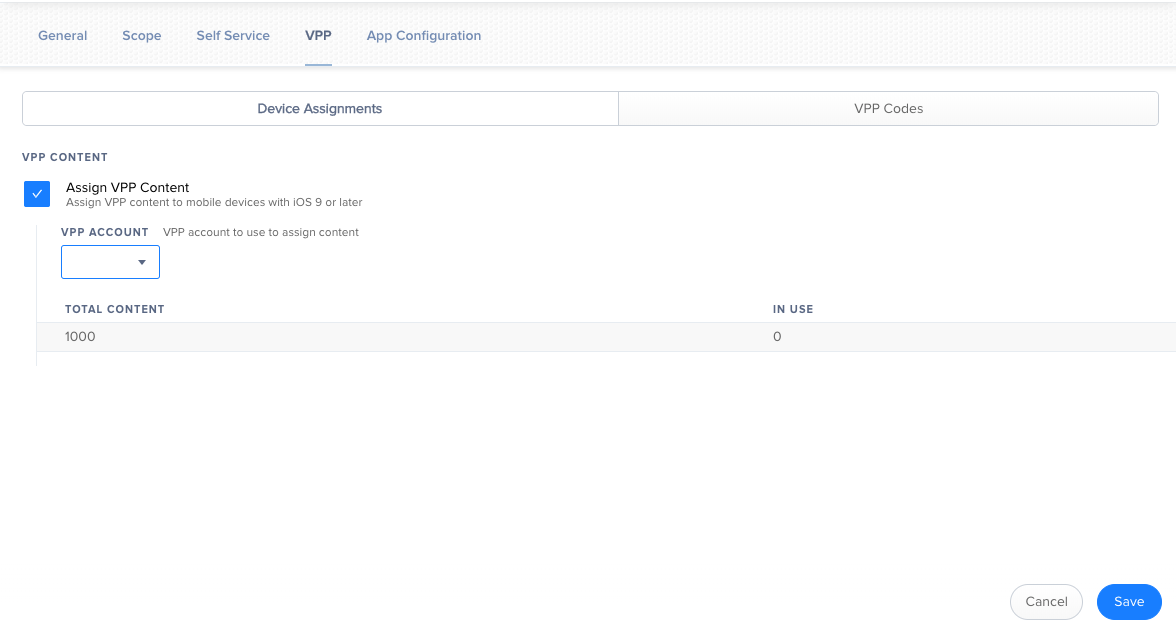
Navigate to the VPP tab and make sure the Assign VPP Content checkbox is ticked and is blue (a greyed out checkbox does not mean the licenses are assigned). Below you will see the number of licenses purchased and how many are currently used. Once you have checked the box click Save and it will take you back to the Mobile Device Apps page.
Now you have successfully deployed the applications from your VPP account to your iPads. Simply make sure that the iPads are on and connected to a wifi network and they will begin downloading and installing the applications. No more need to sign into an apple id on your devices.
Conclusion
This document should cover all the points needed to silently install iOS apps using Apple's Volume Purchase Programme and JAMF on any managed iOS devices.
The steps above are simple in isolation, but there are some salient points in this document that need to be followed precisely to ensure your fleet of iPads does not need to be retouched.
If there are any errors, omissions or points of clarity needed to make this document more complete, please do not hesitate to contact your normal service consultant.