Using Shared Google Photos Libraries in G Suite Applications
Introduction
This live document is intended to be used by Site Administrators and staff at clients of Entity. As Google makes changes to the way this process works, we will make the requisite changes, so it may be useful to subscribe to this document.
Overview
There are two steps involved in using Google Photos in G Suite applications:
The shared album in Google Photos (https://photos.google.com); and
The use of these photos in G Suite applications (including Docs, Sheets and Slides).
Google Photos
In order to add photos from a shared Google Photos album, first go to https://photos.google.com, go to Sharing on the left-hand menu, and then choose the shared album you’ve been shared into:
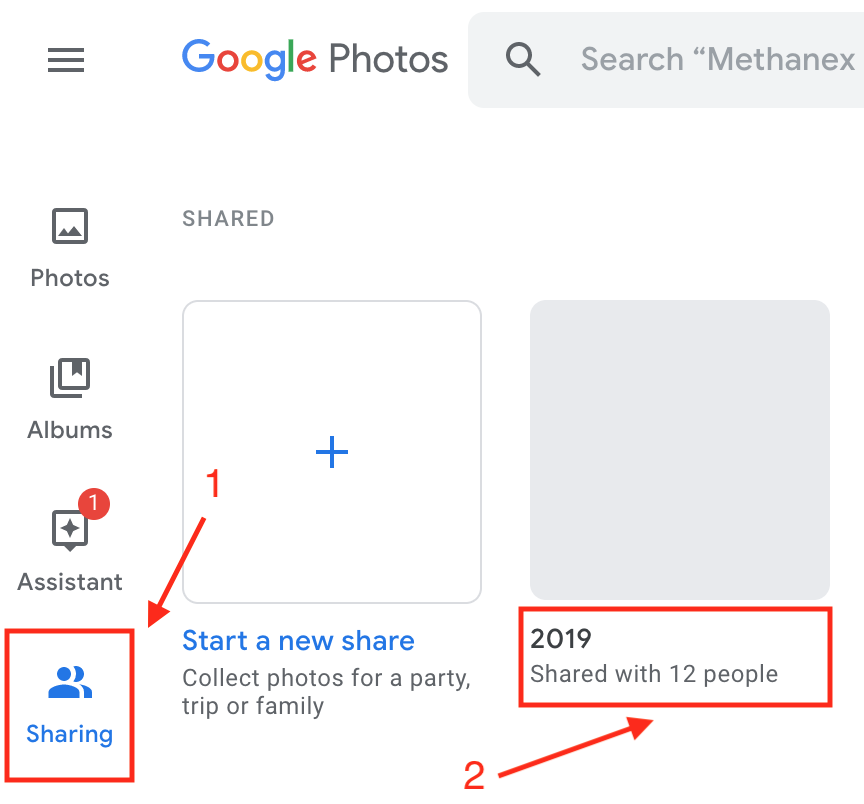
If you don’t see the album, please contact the owner of the album and ask them to check your access.
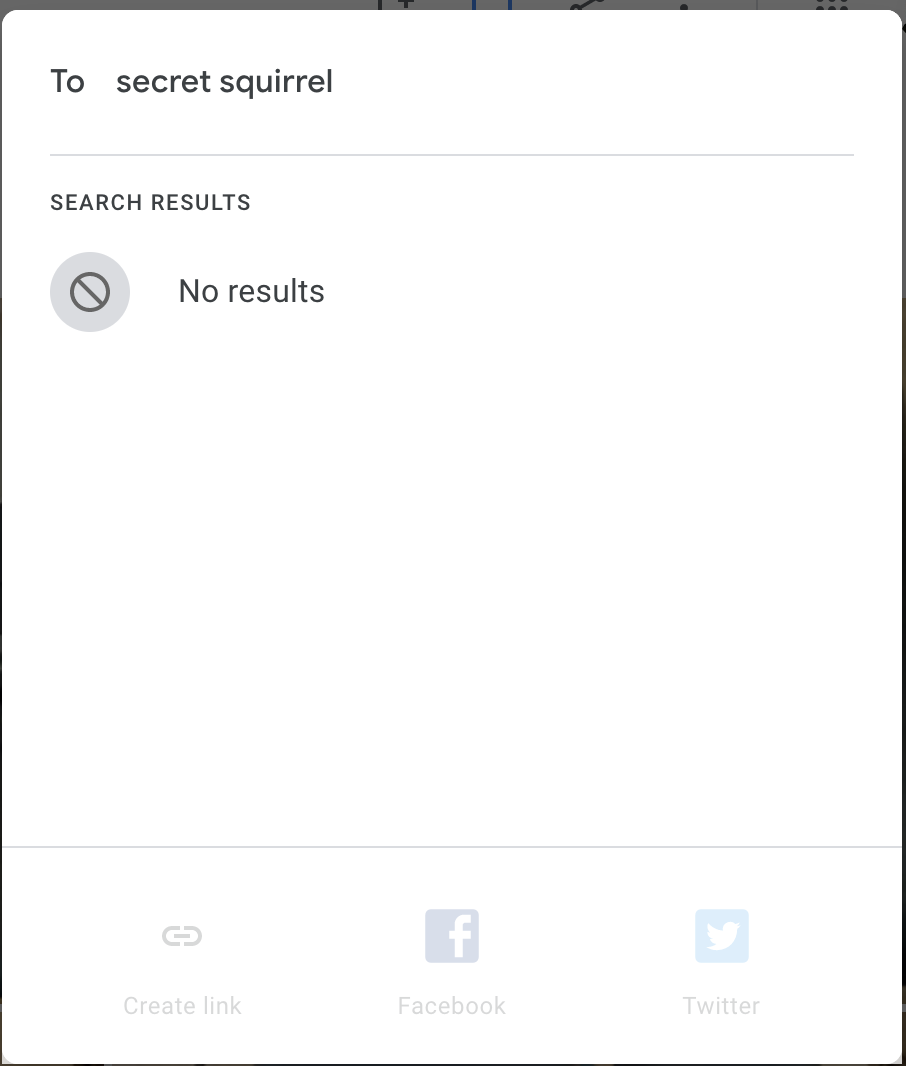
In order to share the album, the owner or one of the managers of the album will need to open their album and click on the sharing icon:

Then search for/add the the list of people that need to have access to the folder:
Once you’ve opened up the folder, click on the Add to Library button (the cloud with a down arrow):

If you don’t do the above step, the folder will be accessible to you in Google Photos, but only individual photos that you add to your own album will be available in G Suite applications.
G Suite Applications
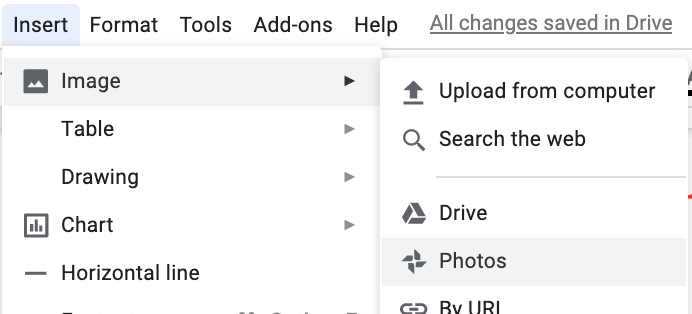
Once you’ve made sure the album is in your Photo library (you only need to do this once), in Google Docs (or any other G Suite application), go to Insert ⇒ Image ⇒ Photos and choose the photos from your right-hand side bar:
Conclusion
This document should cover all the points needed to the use of Google Photos libraries in G Suite Applications.
If there are any errors, omissions or points of clarity needed to make this document more complete, please do not hesitate to contact your normal service consultant.