Getting Remote Support
If you find yourself needing IT support, chances are good that we can help you out remotely. We do this over the internet using a simple, secure remote control program called SimpleHelp.
You can watch a video of the steps below (macOS Ventura):
You can watch a video of the steps below (macOS Montery and earlier):
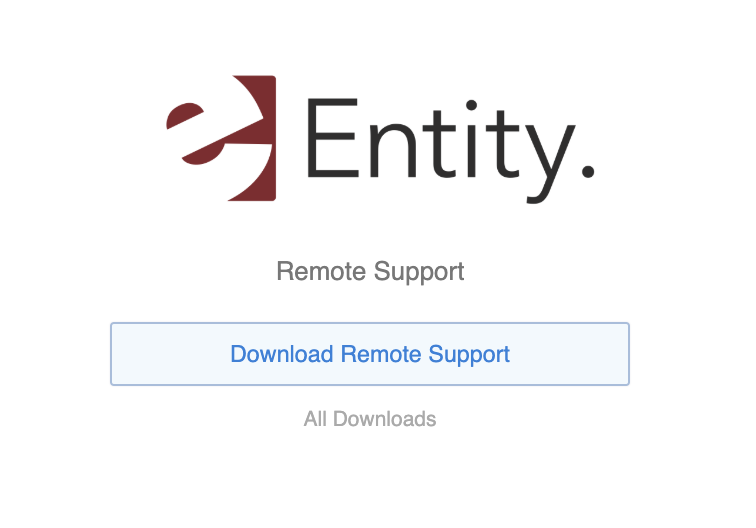
To get started, you will need to run the SimpleHelp client on your computer. Download the client by visiting https://rm.entity.nz in your web browser.
This will automatically identify what computer operating system you're using (Apple, Windows, Linux etc) and will give you a link to download. Simply click on "Download Remote Support" button as in the image below:
Once the download is finished, you will need to open the downloaded file.
- For macOS users:
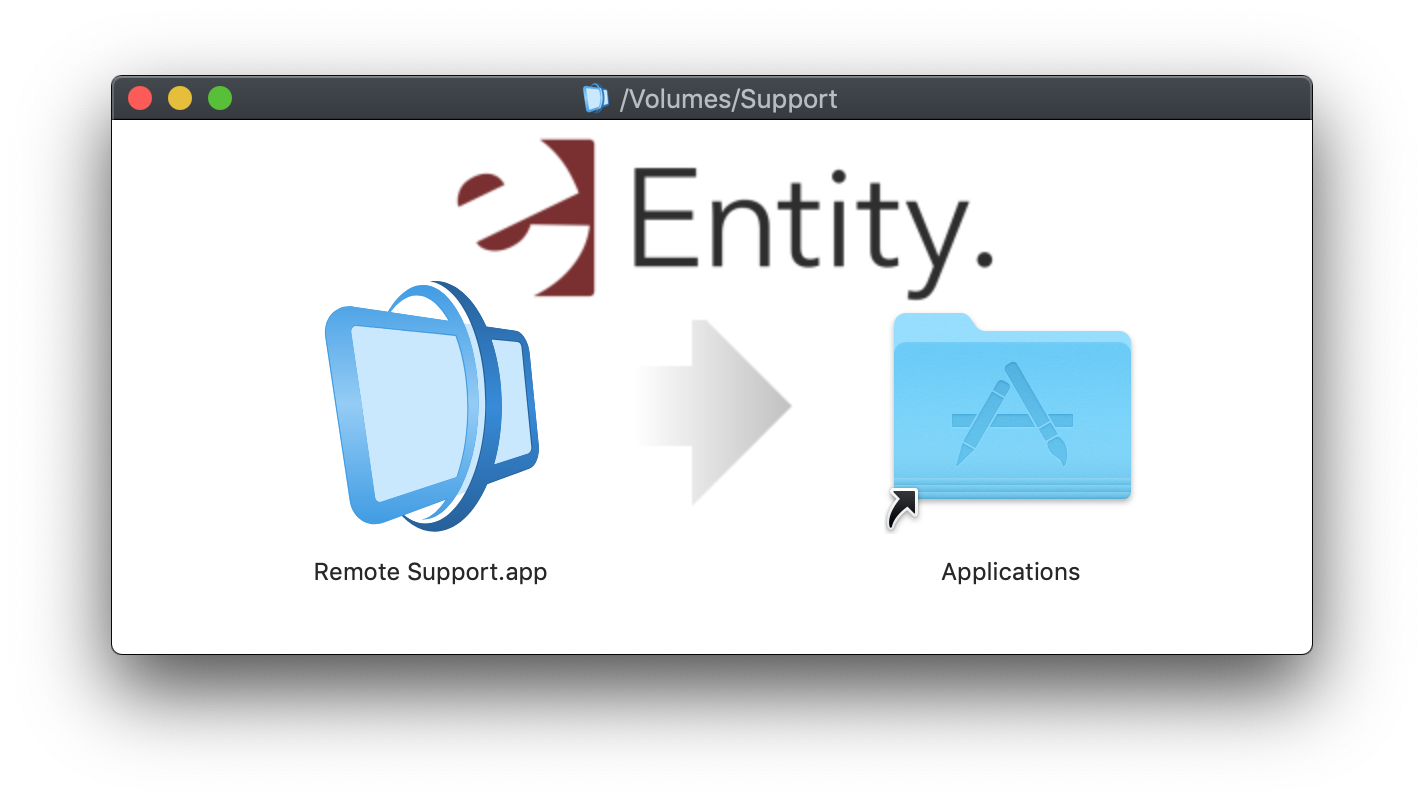
- Double click the file was just downloaded. A window will pop open (see below).
- Drag the Remote Support app into the Applications folder. Once it has finished copying, double click the Applications folder and find the Remote Support app
- Double click on the blue Remote Support application to open it:
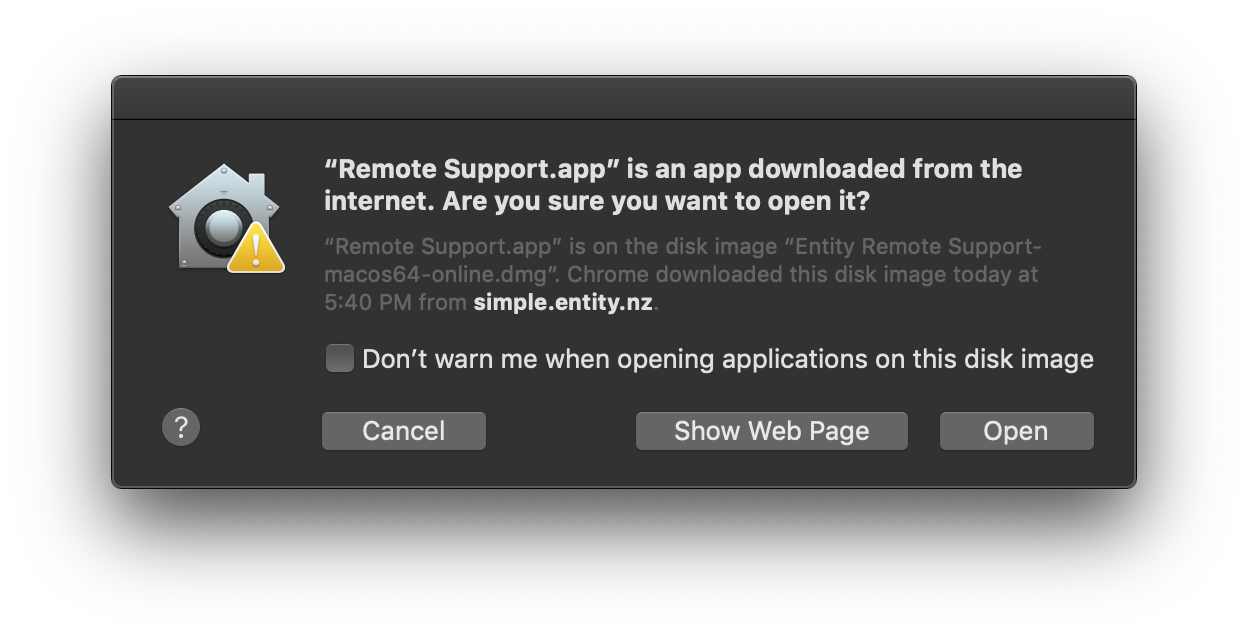
- If you are presented with a screen similar to the following, click on Open:
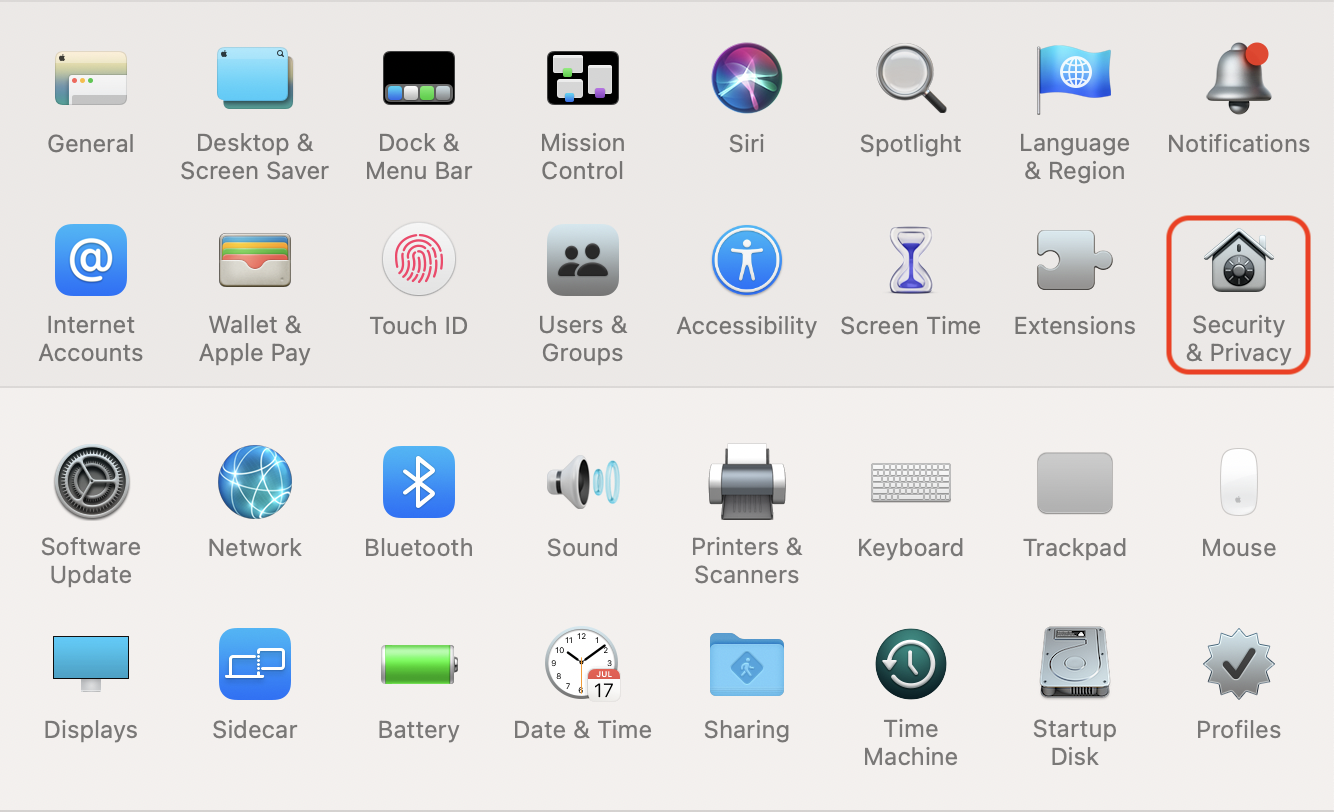
- Since macOS Mojave (10.14), the first time SimpleHelp runs you will be asked to give special permissions to your computer. This will enable the technician to temporarily view your screen, control the mouse and keyboard and Screen Recording settings. In order to add these permissions, please do the following:
- Open "System Preferences" and choose "Security & Privacy";
- Click on the padlock on the bottom left of your screen and swipe your finger on your fingerprint sensor, or enter your password;
- Go to "Accessibility" on the left-hand pane and look for "Remote Support" on the right-hand pane.
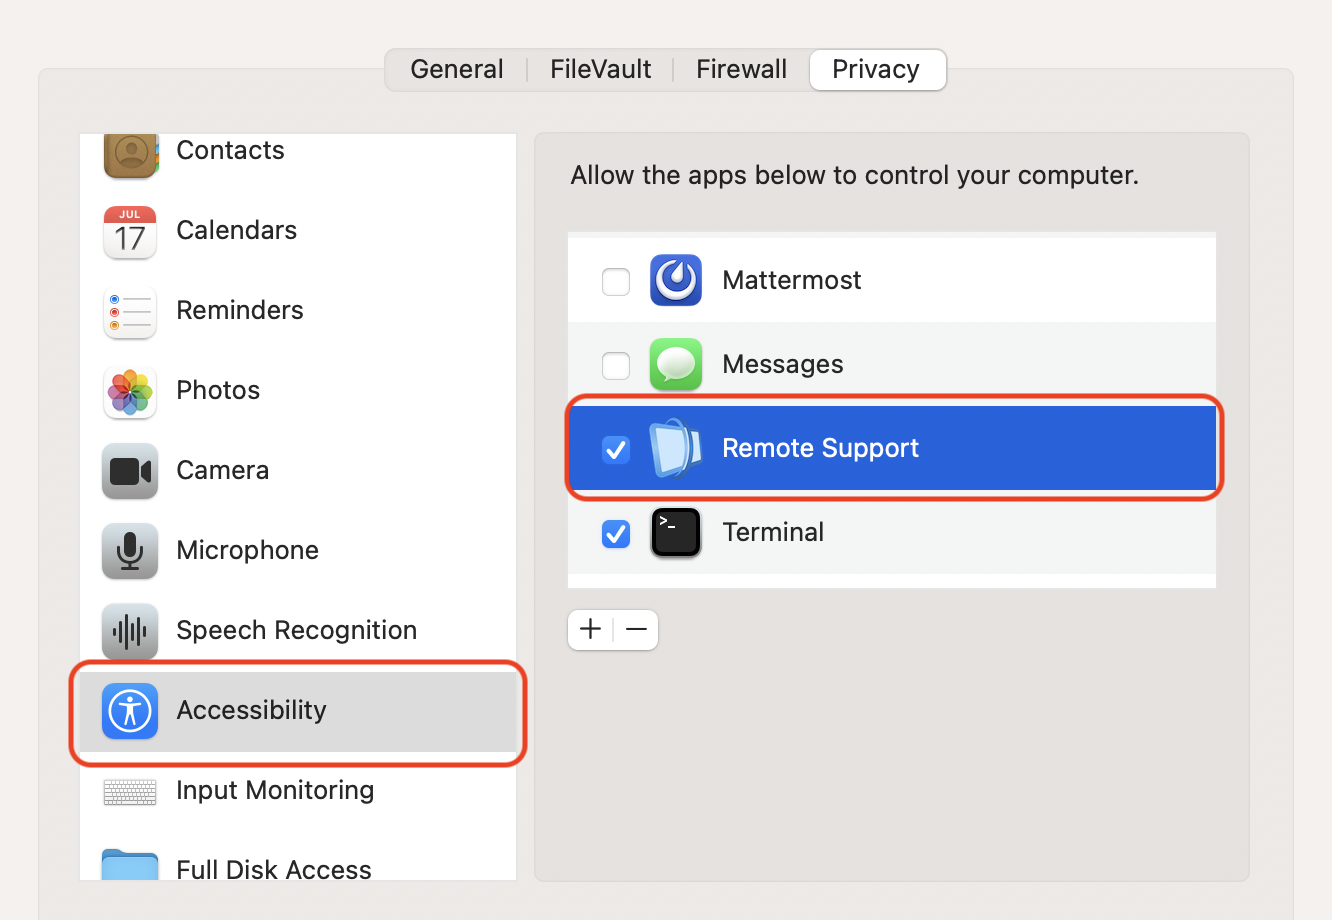
- If it is present, check the checkbox;
- If it isn't present, click on the plus sign and, browsing to your Applications folder, select the Remote Support application. This will add Remote Support to the right pane and you can now tick the checkbox.
- Next, go to "Screen Recording" on the left-hand pane and look for "Remote Support" on the right-hand pane.
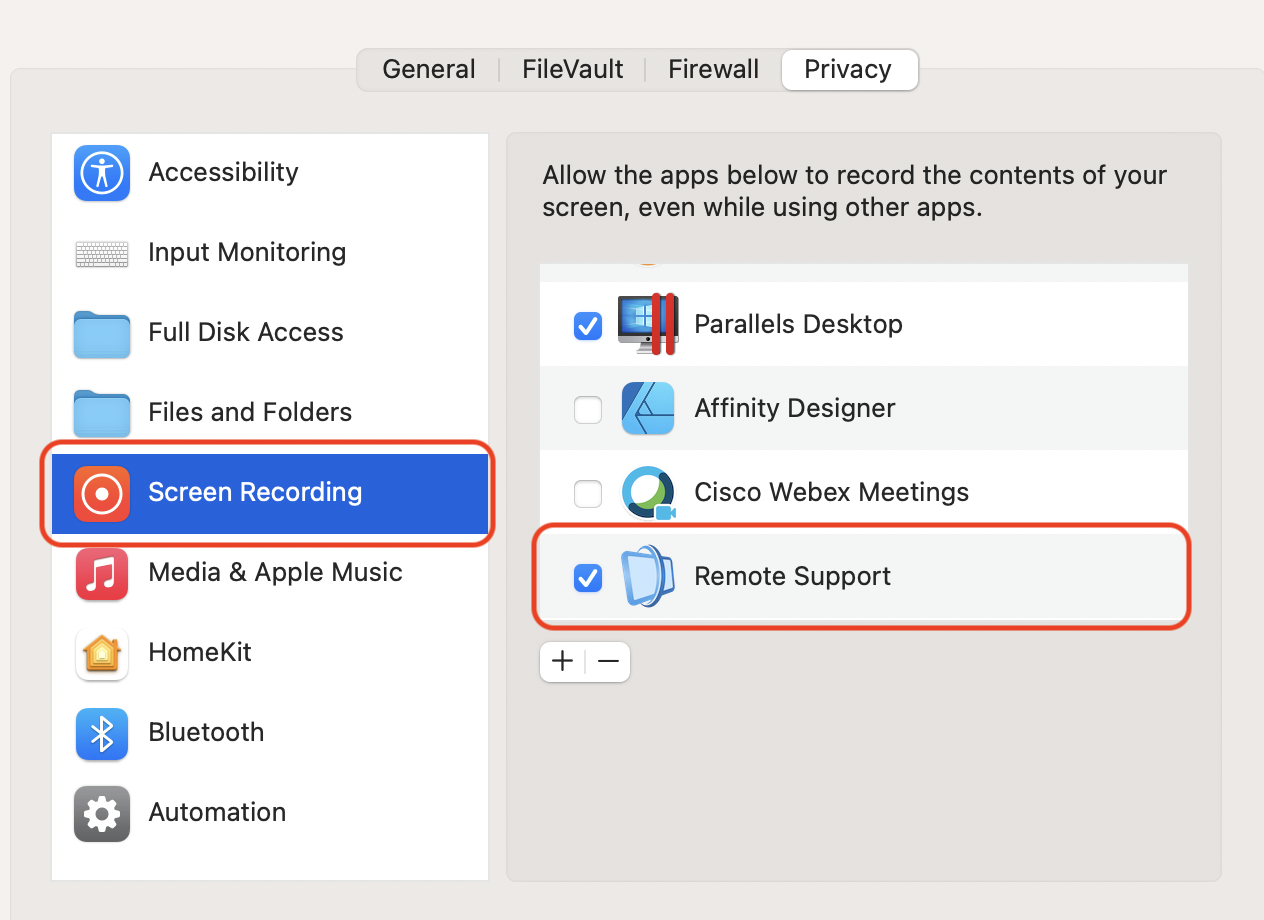
- If it is present, check the checkbox;
- If it isn't present, click on the plus sign and browsing to your Applications folder select the Remote Support application. This will add Remote Support to the right pane and you can now tick the checkbox.
- For Windows users:
- When you're prompted with the file below, select Run:

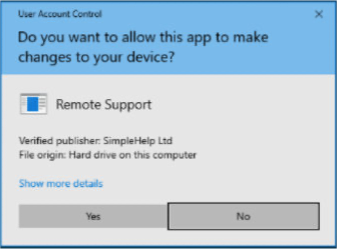
- You will likely have User Access Control (UAC) enabled, so if you are prompted if you want to allow our Remote Support
software to make changes to your PC, you will need to click 'Yes':
- The following is common to everyone:
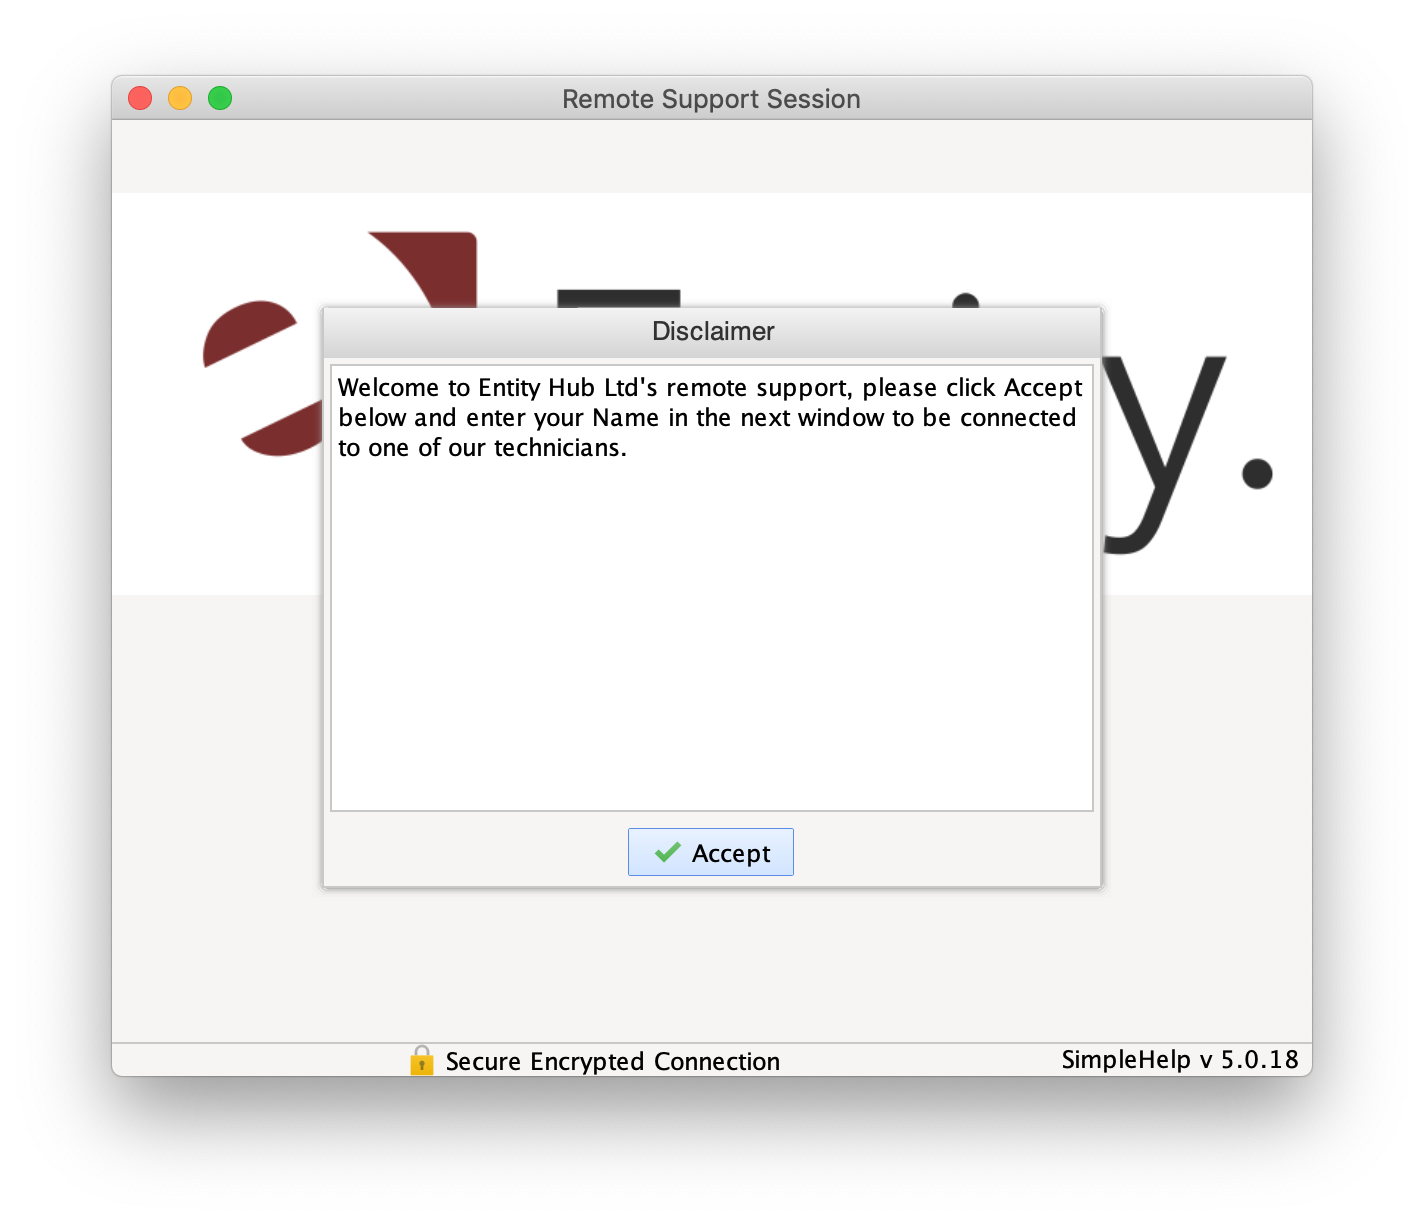
- Next, you will see the welcome screen. Have a read through the instructions and then click on:
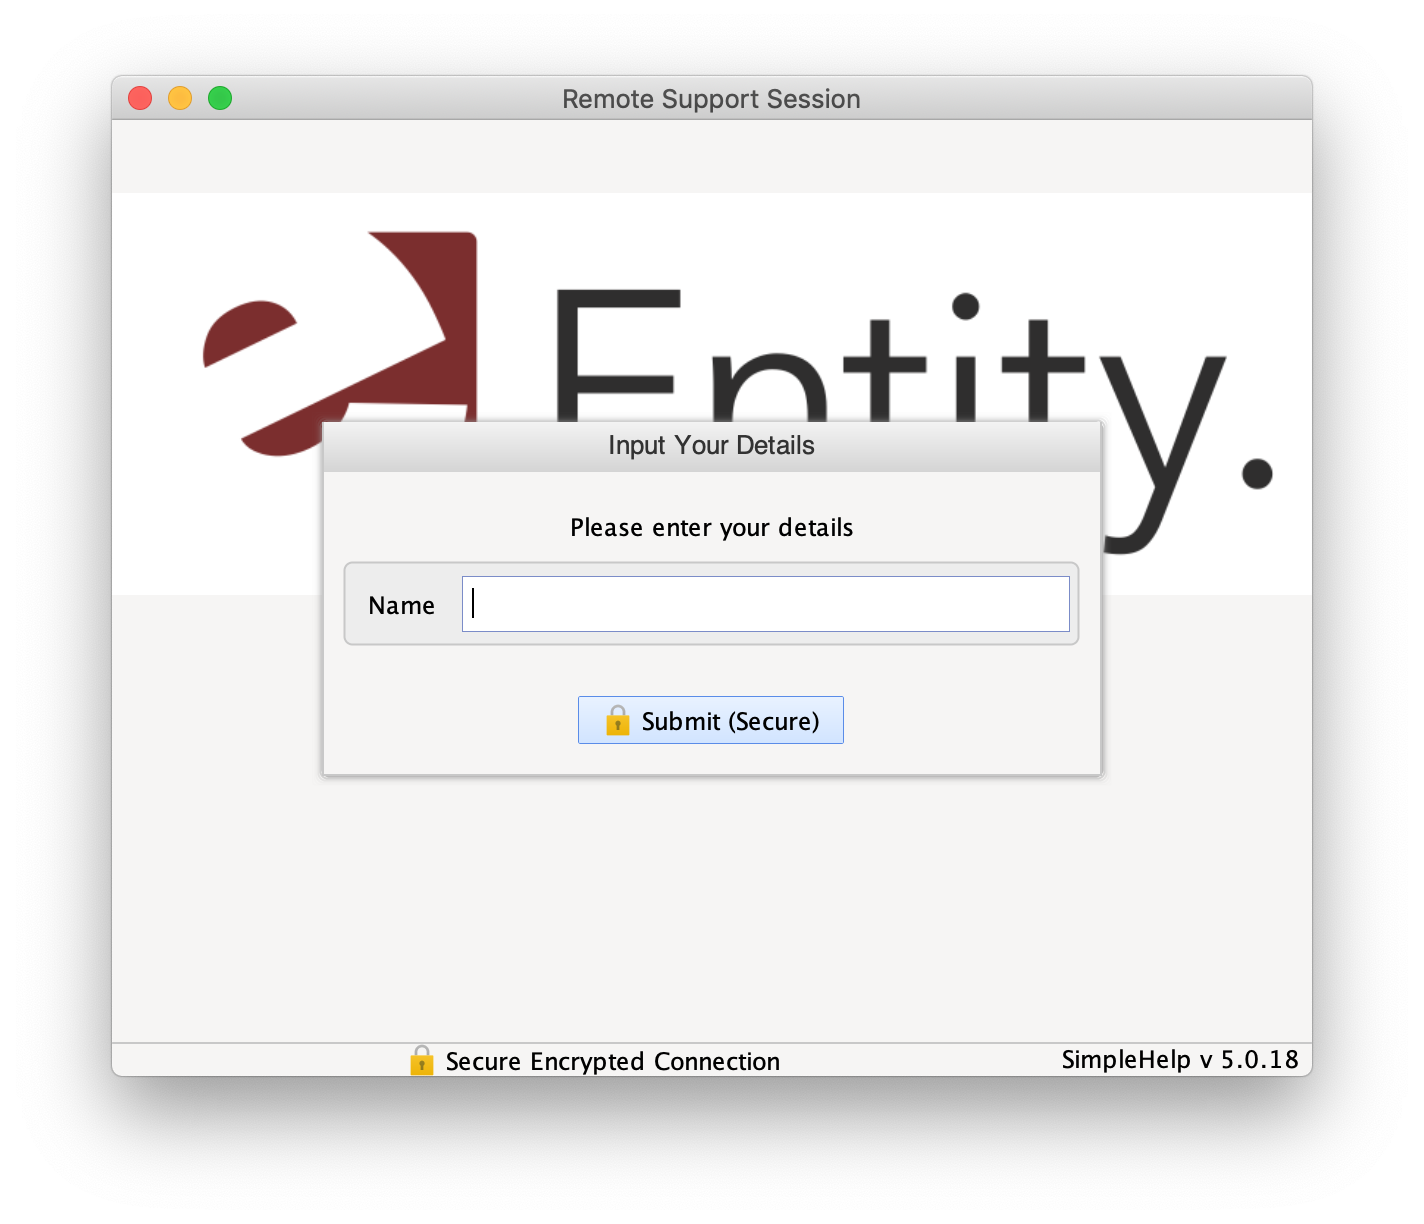
- You will then be prompted to enter your name. This needs to be just as descriptive as it needs to be in order to let your technician to identify you in the queue. Once you've done this, click on the Submit button:
- If you are not attended to within a few minutes, please contact us on 0508ENTITY (0508 368 489)
Share :